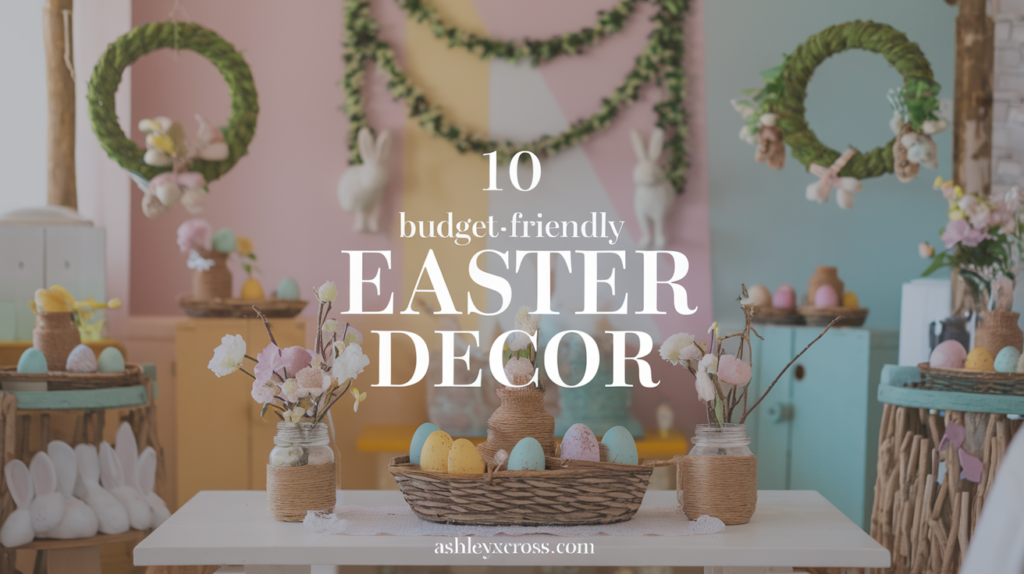
10 Budget-Friendly DIY Easter Decorations You Can Make at Home
Easter is one of those magical times of year when everything feels fresh and full of possibility. The pastel colors, the blooming flowers, and the excitement of gathering with family and friends make decorating for Easter so much fun. But if you’ve ever browsed store-bought decorations, you know how quickly the cost can add up.
The good news? You don’t need to spend a fortune to make your home feel festive. Today, I’m sharing 10 DIY Easter decorations on a budget that will add charm to your home without breaking the bank. These simple, beautiful, and affordable crafts will bring all the spring vibes using items you may already have at home or can grab from the dollar store.
What You Might Need
Before we start crafting, here are a few supplies that will come in handy:
- Acrylic paint in pastel colors
- Craft glue or a hot glue gun
- Twine or ribbon
- Mason jars, baskets, or glass vases
- Cardstock, construction paper, or craft foam
- Wooden or plastic eggs
- Scissors and a paintbrush
- Faux flowers, greenery, or cotton balls
Now, let’s jump into these budget-friendly DIY Easter decorations!
1. Rustic Twine-Wrapped Easter Eggs

Nothing says farmhouse charm like twine-wrapped Easter eggs. This easy craft transforms simple plastic or wooden eggs into beautiful, rustic decor that you can use year after year.
How to Make It:
- Start with plastic or wooden craft eggs.
- Apply a thin layer of glue to one section of the egg.
- Begin wrapping the twine tightly around the egg, pressing it down as you go.
- Continue adding glue and wrapping until the entire egg is covered.
- Let them dry completely before displaying.
Picture This:
A woven basket filled with rustic twine-wrapped Easter eggs, placed on a kitchen table alongside a vase of fresh tulips. The natural texture of the twine contrasts beautifully with soft pastels, creating a cozy and inviting look.
2. DIY Bunny Garland
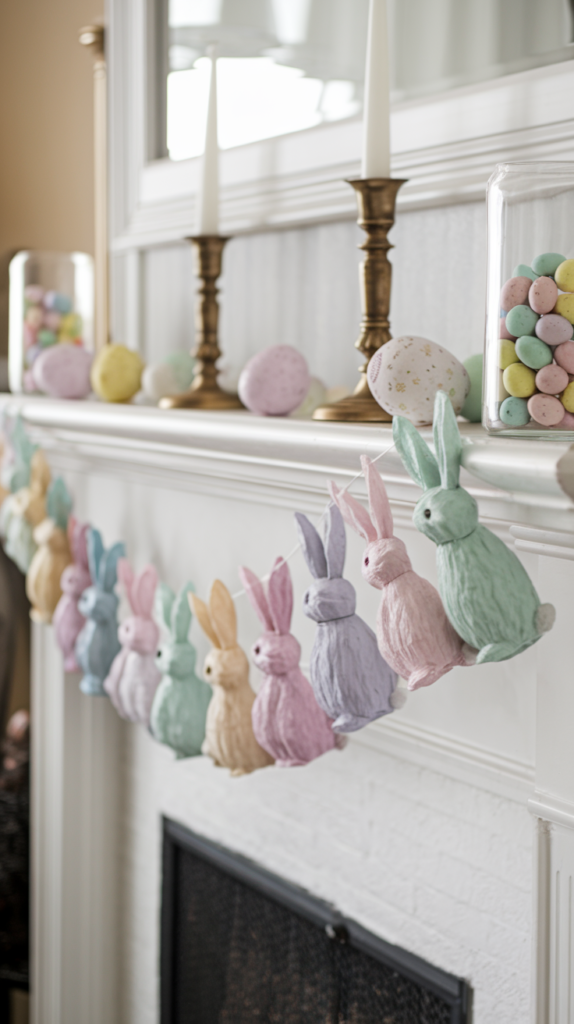
This simple and playful bunny garland is the perfect way to add a festive touch to any space. Whether draped across a mantel or hung along a doorway, it brings instant Easter charm.
How to Make It:
- Cut bunny shapes from cardstock, felt, or craft foam using a printable template.
- Attach small cotton balls or pom-poms to each bunny for tails.
- Use a hole punch to create two holes at the top of each bunny.
- Thread a piece of twine or ribbon through the holes, spacing out the bunnies evenly.
- Hang your garland and enjoy your festive decor!
Picture This:
A whimsical DIY bunny garland draped across a white fireplace mantel, pastel-colored bunnies swaying gently. A few candle holders and a glass jar of mini chocolate eggs complete the look, making the whole scene feel warm and festive.
3. Mason Jar Easter Centerpieces

Mason jars make for the easiest and most versatile Easter decor. With a little paint and creativity, you can turn them into adorable, budget-friendly centerpieces.
How to Make It:
- Paint mason jars in pastel shades like mint green, baby pink, or sky blue. Let them dry completely.
- Tie a twine or ribbon bow around the rim for a decorative touch.
- Fill the jars with fresh flowers, faux tulips, or even colorful plastic Easter eggs.
- Arrange them on your dining table, a shelf, or your kitchen counter.
Picture This:
A trio of Easter-themed mason jar centerpieces, glowing in pastel hues, sitting on a wooden table. Each jar is filled with soft pink peonies and sprigs of lavender, bringing an effortless springtime feel to the home.
4. DIY Easter Wreath with Dollar Store Finds

Why spend big on a store-bought wreath when you can make one for a fraction of the price? This project is simple, budget-friendly, and completely customizable.
How to Make It:
- Start with a foam or grapevine wreath form.
- Wrap it with burlap or pastel-colored ribbon.
- Attach plastic eggs, faux flowers, or small decorative bunnies using a hot glue gun.
- Add a bow or a small wooden “Happy Easter” sign for the finishing touch.
- Hang it on your front door or inside your home.
Picture This:
A beautiful DIY Easter wreath with pastel eggs and delicate florals, hanging on a white front door. The soft pink and lavender hues contrast against the greenery, making it an inviting sight for guests.
5. Painted Pastel Wooden Bunnies

Add a touch of charm to your shelves with these adorable painted wooden bunnies.
How to Make It:
- Get or cut wooden bunny shapes from thin plywood.
- Sand any rough edges for a smooth finish.
- Paint each bunny in soft pastel colors.
- Once dry, add a small bow or a button for extra charm.
- Display them on bookshelves, entryway tables, or countertops.
Picture This:
A set of painted pastel wooden bunnies lined up on a farmhouse-style shelf, each with a tiny bow around its neck. The soft colors blend perfectly with the fresh spring air filtering through the windows.
6. Easter Egg Tree

A DIY Easter egg tree is a beautiful and elegant way to add height and visual interest to your Easter decorations. This craft is easy to make and can be personalized with different colors and styles to match your theme.
How to Make It:
- Gather a few branches from outside or purchase faux ones from a craft store.
- Place them in a tall vase filled with pebbles, floral foam, or decorative moss to keep them stable.
- Decorate plastic or wooden eggs with pastel paint, glitter, or ribbon.
- Attach small loops of string or ribbon to each egg.
- Hang the eggs on the branches to create a stunning Easter tree centerpiece.
Picture This:
A delicate Easter egg tree stands tall in a glass vase on a dining room table, its branches adorned with softly colored eggs that gently sway in the breeze. A light dusting of glitter catches the sunlight, making the entire arrangement sparkle with festive charm.
7. Fabric Scrap Carrots

If you’re looking for a creative way to repurpose leftover fabric scraps, these adorable fabric carrots are perfect for adding a rustic Easter touch to your decor. Display them in a basket, use them as table accents, or even string them together for a festive garland.
How to Make It:
- Cut orange fabric into elongated triangles, about 6 inches long.
- Fold each triangle in half lengthwise, with the right sides facing inward.
- Sew or hot glue along the open edge, leaving the top open.
- Turn the fabric inside out so the seam is hidden.
- Stuff the carrot with cotton, polyester fiberfill, or fabric scraps to give it a plump look.
- Cut green raffia or fabric strips to create the carrot top.
- Insert the green strips into the open end and secure them with glue or a few stitches.
- Gently scrunch the fabric to create a natural carrot shape.
Picture This:
A charming set of handmade fabric scrap carrots nestled in a rustic woven basket, their soft orange fabric contrasting beautifully with the textured green raffia tops. The slightly crinkled fabric gives them a homemade, farmhouse feel—perfect for a cozy Easter display.
8. Speckled Easter Eggs

If you’re looking for a way to elevate basic Easter eggs, speckled designs give them a sophisticated, vintage-inspired touch. This DIY is incredibly easy and makes for a stunning display in a decorative bowl or Easter basket.
How to Make It:
- Start with plain plastic, wooden, or real hard-boiled eggs.
- Paint each egg in soft pastel shades and allow them to dry completely.
- In a separate bowl, mix brown or black acrylic paint with a little water.
- Dip an old toothbrush into the paint mixture and use your thumb to flick tiny speckles onto the eggs.
- Allow the speckled eggs to dry before arranging them in a decorative dish, basket, or nest.
Picture This:
A charming bowl of speckled Easter eggs sits on a farmhouse table, each egg perfectly adorned with delicate, natural-looking flecks of brown. The pastel colors contrast beautifully against the rustic wooden surface, bringing a subtle yet elegant Easter touch to the space.
9. Paper Flower Egg Carton Wreath

This eco-friendly craft transforms an ordinary egg carton into a beautiful Easter wreath. It’s a great way to recycle while adding a whimsical and festive touch to your home.
How to Make It:
- Cut out the individual cups from an empty egg carton.
- Trim the edges into petal-like shapes to resemble flowers.
- Paint each flower in pastel colors and allow them to dry completely.
- Arrange the flowers into a circular wreath shape on a cardboard or foam base.
- Use a hot glue gun to attach the flowers securely to the base.
- Add paper leaves, faux greenery, or mini speckled eggs to fill in gaps.
- Attach a ribbon or twine loop to the back for easy hanging.
Picture This:
A handmade paper flower wreath hangs on a pastel-colored wall, each delicate bloom showing hints of soft pink, baby blue, and sunny yellow. Tiny speckled eggs peek out from between the petals, creating a cheerful and unique Easter decoration that looks like a high-end boutique find.
10. Bunny Ear Napkin Rings

Elevate your Easter table setting with these adorable bunny ear napkin rings. They add a charming, festive touch to your dining experience and are incredibly easy to make with just a few materials.
How to Make It:
- Cut strips of burlap, felt, or thick ribbon about 6 inches long and 1 inch wide.
- Form each strip into a loop and secure the ends with hot glue or a few stitches.
- Cut two smaller felt pieces into bunny ear shapes.
- Attach the ears to the top of the loop using glue, positioning them so they stand upright.
- Wrap the napkin and slide it through the loop to complete the look.
Picture This:
A beautifully set Easter table features handmade bunny ear napkin rings, each napkin neatly tucked into a burlap loop with perky felt bunny ears standing tall. The soft pastel accents and rustic charm create the perfect finishing touch for a cozy, elegant holiday meal.
For each of these remaining DIYs, I will now expand on the instructions, include step-by-step guides, and add the ‘Picture This’ descriptions to match the detailed style of the first five sections.
Final Thoughts: Celebrate Easter with Handmade Charm
Decorating for Easter doesn’t have to be expensive. With a little creativity, you can make DIY Easter decorations on a budget that feel just as special—if not more—than store-bought pieces.
So, which of these DIYs are you most excited to try? Whether it’s a rustic twine egg, a festive Easter tree, or a charming bunny garland, your home will be filled with handmade warmth and holiday spirit.
Happy crafting and happy Easter!


One Comment